In this section, we provide guides and references to use the Cloud Data Fusion connector.
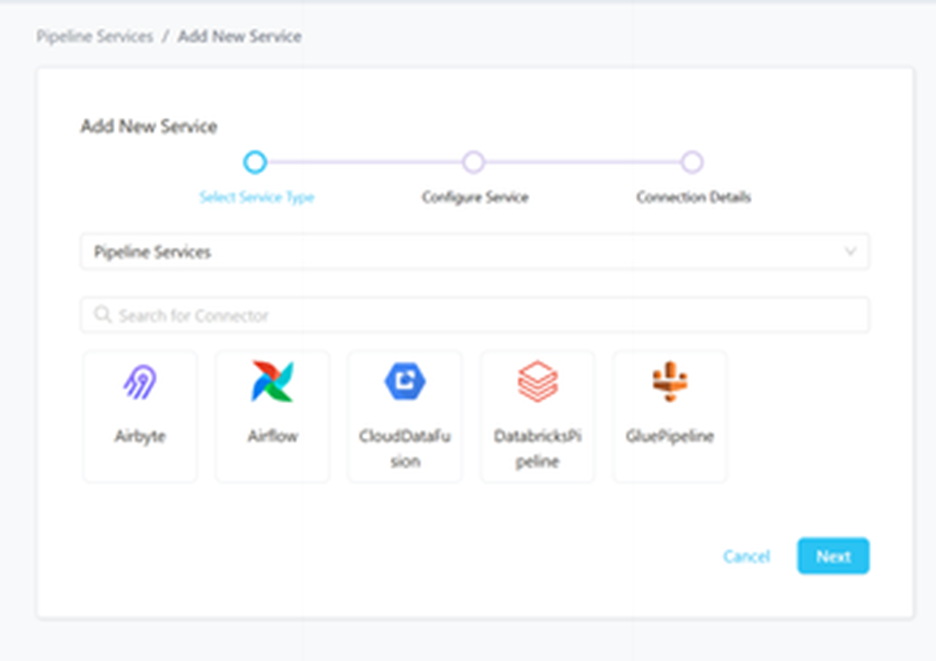
Step 1 –: Create New Service
- Create New Service to click on + ADD .
- The first step is to ingest the metadata from your sources. To do that, you first need to create a Service connection first.
- This Service will be the bridge between Prakash and your source system.
The Add New service form should look something like this.
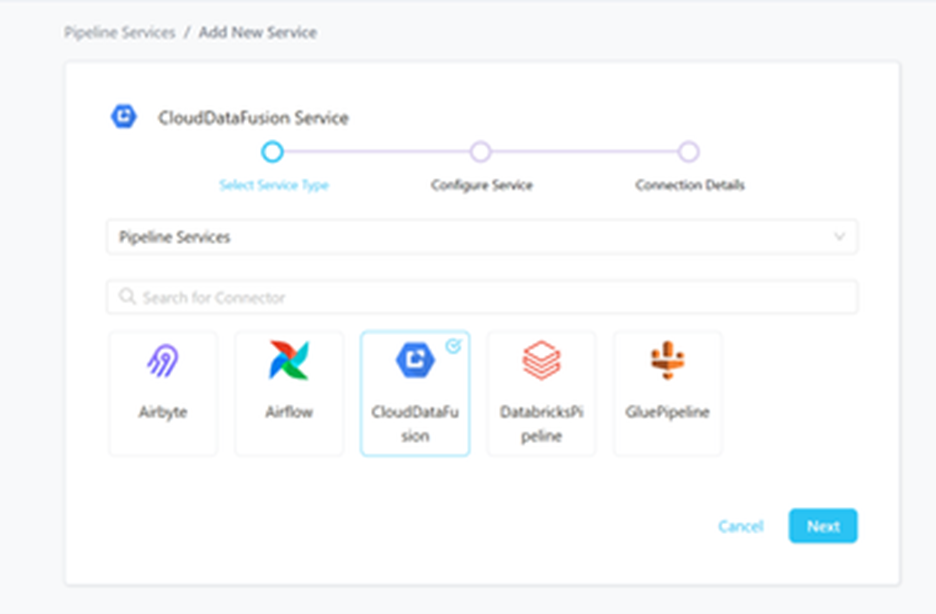
Step 2 –: Select Cloud Data Fusion Pipeline as the Service type and click NEXT.
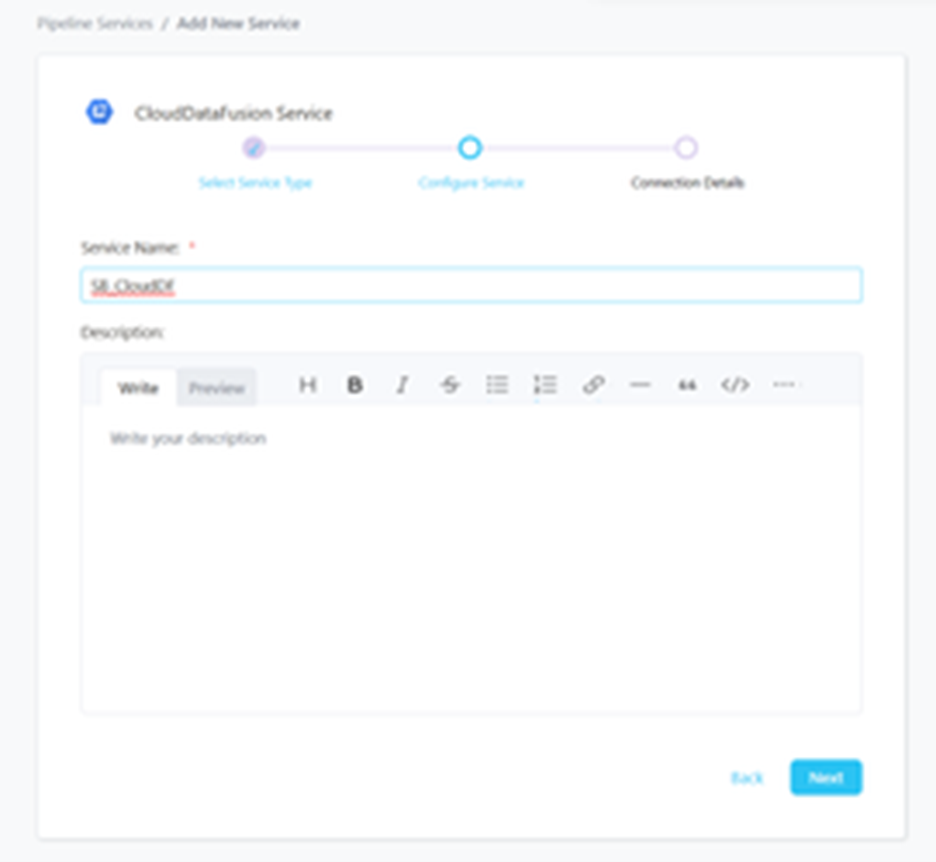
Step 3 –: Name and Describe Your Service
Provide a name and description for your Service.
Service Name:-
- Prakash uniquely identifies Services by their Service Name. Provide a name that distinguishes your deployment from other Services, including the other Cloud Data Fusion Services that you might be ingesting metadata from.
Note that when the name is set, it cannot be change.
Step 4 –: Configure The Service Connection
- In this step, we will configure the connection settings required for Cloud Data Fusion
- Please follow the instructions below to properly configure the Service to read from your sources. You will also find helper documentation on the right-hand side panel in the UI
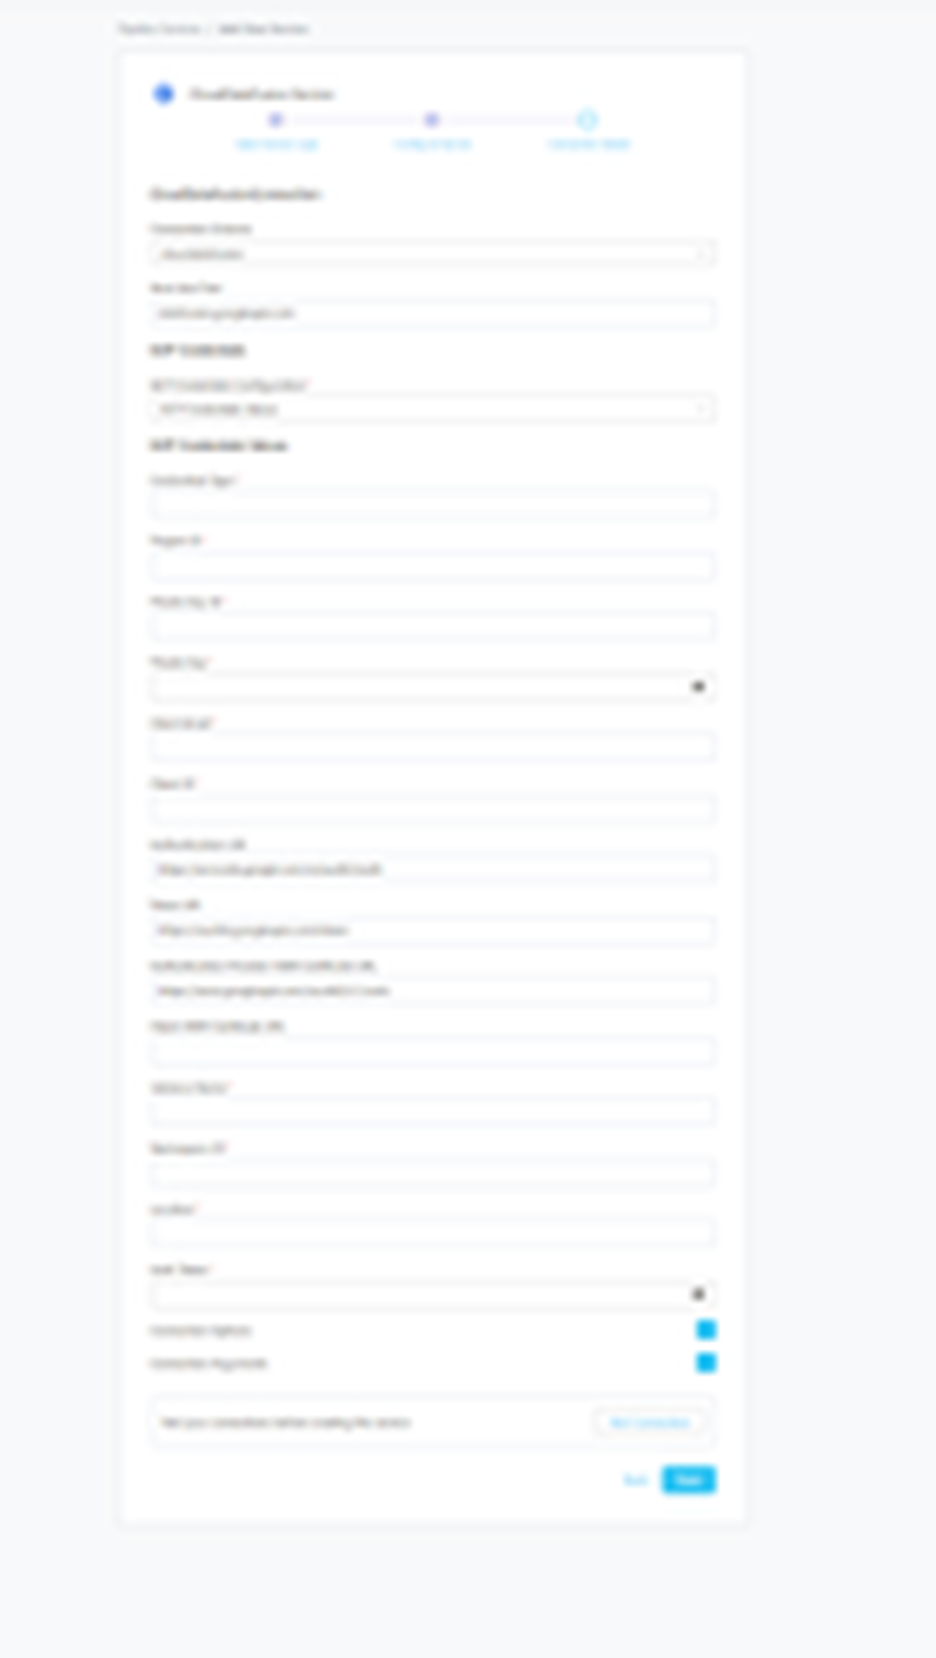
Connection Details:-
- Connection Scheme: SQLAlchemy driver scheme options.
- Host and Port: Host and port of the Airflow service. This should be specified as a string in the format hostname:port. E.g., adb-xyz.azuredatabricks.net:443
- GCP Credentials Configuration: You can pass the values directly by choosing the GCP Credentials Values from the service account key file.
- Credentials Type: Credentials Type is the type of the account, for a service account the value of this field is service_account
- Project ID: A project ID is a unique string used to differentiate your project from all others in Google Cloud. To fetch this key, look for the value associated with the project_id key in the service account key file.
- Private Key ID: This is a unique identifier for the private key associated with the service account. To fetch this key, look for the value associated with the private_key_id key in the service account file.
- Private Key: This is the private key associated with the service account that is used to authenticate and authorize access to GCP.
- Client Email: This is the email address associated with the service account. To fetch this key, look for the value associated with the client_email key in the service account key file.
- Client ID: This is a unique identifier for the service account. To fetch this key, look for the value associated with the client_id key in the service account key
- Auth URI: This is the URI for the authorization server. To fetch this key, look for the value associated with the auth_uri key in the service account key file.
- Token URI: To fetch this key, look for the value associated with the token_uri key in the service account credentials file.
- Auth Provider X509Cert URL: To fetch this key, look for the value associated with the auth_provider_x509_cert_url key in the service account key file.
- Client X509Cert URL: To fetch this key, look for the value associated with the client_x509_cert_url key in the service account key file.
- Instance Name: Cloud Data Fusion Instance Name Where Your All Pipelines are Running. E.g.Prakash-CDF.
- Namespace ID: Cloud Data Fusion Namespace ID. E.g.default.
- Location: Cloud Data Fusion Instance Location. E.g.us-west1.
- Auth Token: Auth Token to connect cloud data fusion instance.
- Connection Options: Additional connection options to build the URL that can be sent to service during the connection.
- Connection Arguments: Additional connection arguments such as security or protocol configs that can be sent to service during connection.
Step 5 –: Check Test Connection
Once the credentials have been added, click on TEST CONNECTION To Check Credentials is valid or not.
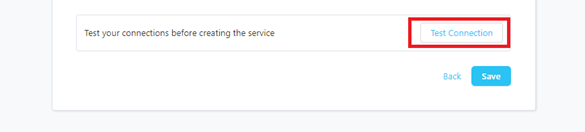
If Test Connection Successful after that click on SAVE and then configure Metadata Ingestion.
Step 6 –: Configure Metadata Ingestion
In this step we will configure the metadata ingestion pipeline, please follow the instructions below.
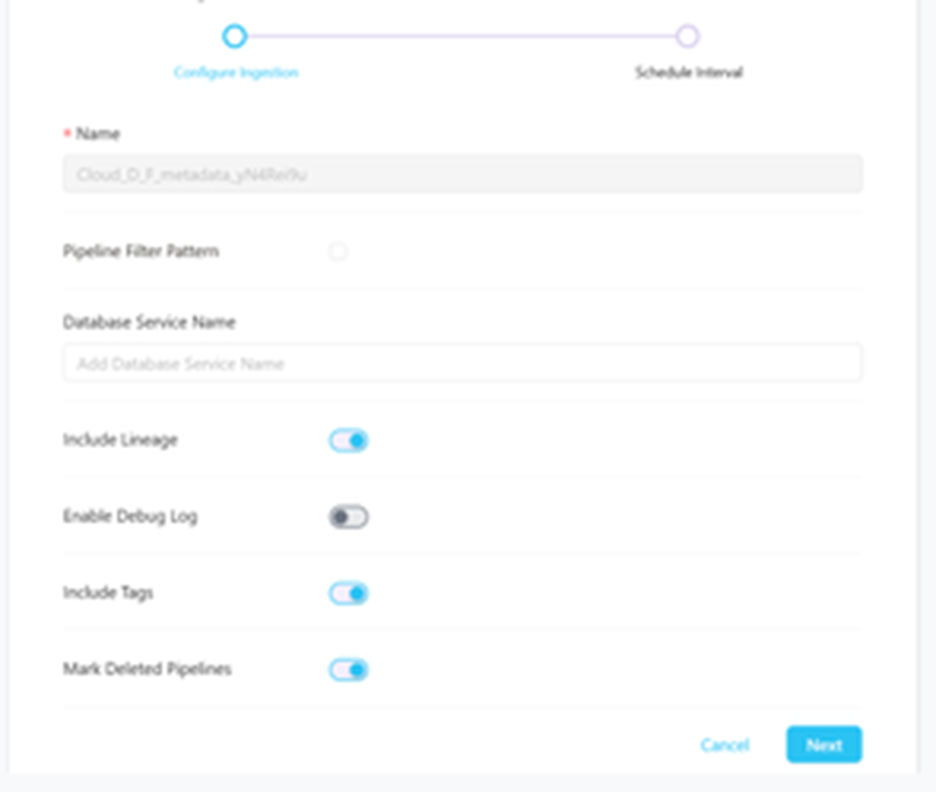
- Pipeline Filter Pattern: Note that all of them support regex as include or exclude.
- Include Tags: Set the ‘Include Tags’ toggle to control whether to include tags in metadata ingestion.
- Mark Deleted Pipeline: Set the ‘Mark Deleted Dashboards’ toggle to flag Pipeline as soft-deleted if they are not present anymore in the source system.
- Include lineage: Set the ‘Include Tags’ toggle to control whether to include tags as part of metadata ingestion.
- Enable Debug log: Set the Enable Debug Log toggle to set the default log level to debug.
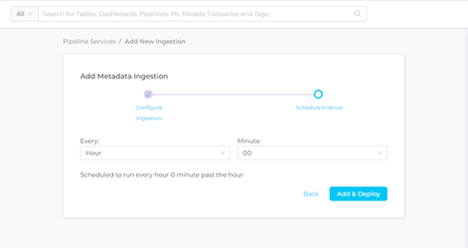
Step 7 –: Schedule the Ingestion and Deploy
- Scheduling can be set up at an hourly, daily, weekly, or manual cadence. The timezone is in UTC. Select a Start Date to schedule for ingestion. It is optional to add an End Date
- Review your configuration settings. If they match what you intended, click DEPLOY to create the service and schedule metadata ingestion
- If something doesn’t look right, click the BACK button to return to the appropriate step and change the settings as needed.
- After configuring the workflow, you can click on DEPLOY to create the pipeline.
Step 8 –: View the Ingestion Pipeline
Once the workflow has been successfully deployed, you can view the Ingestion Pipeline running from the Service Page
